We signed, we paid and now we create!
You had been warned… my partner and I bought an apartment and I’m going to talk about it!

For now, I’m sketching the entire apartment to facilitate all the big decisions. Bathroom design, kitchen design, will our sofa fit in this position, where do we put the lights… aaahhhh it’s going to be fun, they said!
You know SketchUp?
SketchUp is a 3D design modeling tool which now lets you create your own plans online. You can just go to the main page, click on products and there you will find the free online SketchUp version.
A few years back, it was free but you had to download it. Now, there is a free online version and a paid version for professional. The paid version probably has extended tools and lots of super cool features but for a single use, the free version should do.
This is not sponsored, affiliated or else, in any way.
Why should you use a 3D modeling tool?
If you are planning any sort of renovation, or even just moving, using a 3D modeling tool will make any installation/modification/arranging of furniture soooo much easier! In my humble opinion.
It helps you visualise the end result. It helps you make sure things will fit together, that you can still walk around, that you won’t have to push the bed against the wall if you don’t want to.
Regular 2D plans are of course a great start and you should start there, but if you only have 2D plans, it can be really hard to truly visualize the space, the light, the circulation.
There is a reason why even Ikea (and probably others but Ikea is what came to my mind!) has a 3D modeling tool available online! It helps!
First steps with SketchUp
If you are interested in remodeling your kitchen, rearranging your bedroom, or like me, deciding on every single wall placement, in this new apartment, then SketchUp is your best friend.
However, it might not feel that way at first!! 😂
It can be pretty frustrating at first actually!
So do take your time to navigate through the basic tools, understanding how they work and do go through the instructor! Get very very familiar with how to navigate through your creation with the orbit tool, the little hand, the zoom… it sounds simple enough but you will probably loose yourself, in the infinite space around your model, at one point or another.
The beginnings are sometimes a bit tough!
But seriously, once you know how to navigate and to build a rectangle at the appropriate measure, you’re on the right path!
Clear out everything or start a new model, move the lady out of the way and get cracking.
A few tips on how to use SketchUp
Not going to do a tutorial because they have that already, but here are a few tips that might help.
- Start by moving the lady out of the way! but keep her, she is a helpful visual tool. Thanks to her, you’ll know when something is out of shape.

- Don’t pull your walls all the way up at first. It makes it harder to navigate. Pull them up by 50cm or 1m at most, that’s enough to start working.
- Color code. Especially during the 2D drawing process. It will make it easier to know what is what. Doors, windows, structural walls… What ever works for you but with complex models, since you can’t build everything at the same time, color codes help knowing what you need to come back to.

- Don’t add furniture right away. Finish your structural elements first. It’s tempting to add furniture (all located in the warehouse) but it slows down the model, at least when you have added a lot of heavy stuff. You can use blocks to signify your furniture instead.

- Check your model from below everyone and then! Just to make sure you didn’t pull your grounds or your walls beneath! Yes things sometimes disappear below, including furniture!
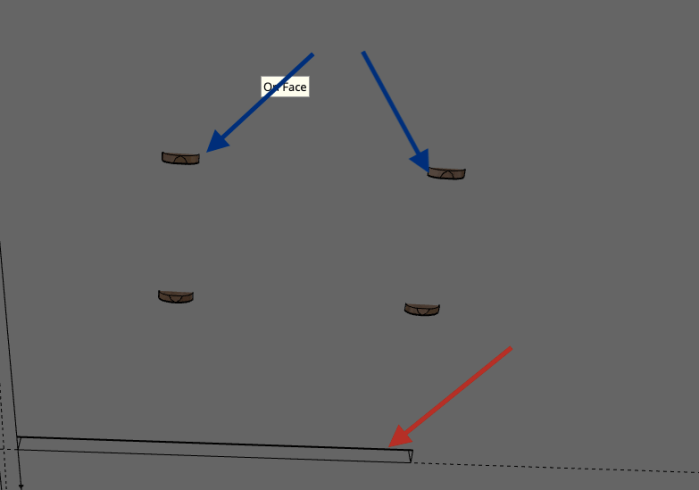
- When placing furniture, sometimes nothing happens! Well it’s probably still there, but not where you hoped! Zoom out and zoom out again. Notice this little dot in the distance? That might be your furniture piece! Don’t know why it does that, but it happened to me more times than I could count!
- With regards to furniture, do check your placement from every angles, lower your walls if necessary and you might realize your wash machine is levitating!
- Check size of elements often. Including the size of furniture pieces. If you insert a bed that looks king size and put other furniture around, happy everything fits together, you don’t want to realize later that the size of the bed was not king size at all!
- Don’t delete ‘extra’ lines at first. When creating shapes and pulling them up, you might end up with extra lines if your shapes are of different sizes. It is tempting to remove such lines right away, but refrain! They might come handy if you need to modify your shapes later. Of course, you can always add then back by just drawing them, but it’s easier just to keep them at first.

What modeling our new apartment showed me
The promoter gave us plans of the apartment explaining that, appart form the bearing walls, everything else could be adapted to our liking, that the plans were mostly informational.
So of course I wanted to make sure everything would fit to our likings.
Modeling the apartment, showed me a couple things including that we need to push the wall between 2 of the bedrooms to fit the wardrobe in the bedroom we will be using a dressing room. It showed me the kitchen plans were unrealistic. It showed me our sofa wouldn’t fit the way we wanted it to. Important stuff!!
Most importantly, it helped me visualize the space, differently. It showed me how to circulate in such space, how to own it and make it my own.
On the other hand, 3D seems to make things look smaller, so do a 2D plan too!
Once I’m completely done with the first model, I think I’ll do a second one without any constraint. But for now, I’m still trying to figure out the kitchen… Oh headaches!!


